So, you have new photography of your property and a few ideas on where you’d like to use it, from portfolios to your website. The next step is to figure out how to get the files ready to use on your website or get them ready for printing collateral. That’s what this blog is all about: common resolutions and formatting you’ll need to know.
From Photographer to You
As I’ve mentioned before in my blog, Photography Data Management: Storage and Delivery, before they arrive to you, a photographer is going to take the files in their “RAW” format (uncompressed, usually with file sizes starting around 20 megabytes) and process them. This includes any photo editing. They are then handed over to you in one or more ways:
A larger image file (commonly in the TIFF) format that is full resolution version of the RAW file.
A smaller image file (commonly a JPEG) format that is provided for common uses of images.
Here’s an original image from one of my photography sessions. We’ll use it as a baseline when discussing these two formats.
Getting a Little More Technical in the Differences
As I explain to clients who are interested in the technical details, there are several differences between files to explain the differences in size and image quality. In a TIFF file, every single pixel is given a full numeric description of what it represents: the color, hue, saturation, exposure, etc. In a JPEG, it instead identifies that single dot of blue in a sky, gives it a full description, and then says all the dots around it are that same quality of blue. What gets lost is those moment-to-moment shifts in data that provides such fine details, but what is gained is a much smaller file size leading to better load times and file transfers.
Using TIFF Images for Printing and Graphic Editing
The larger TIFF files are for use in specialty and high-end services. While you may not get as much use from them as the smaller files, they are a vital tool for printing and graphic design industries. From magazines to banners, these files have the resolution to stand up to larger sizes and finer details. Internally or with vendors, if you’re working on big projects where your images will be used, make sure to have these on hand.
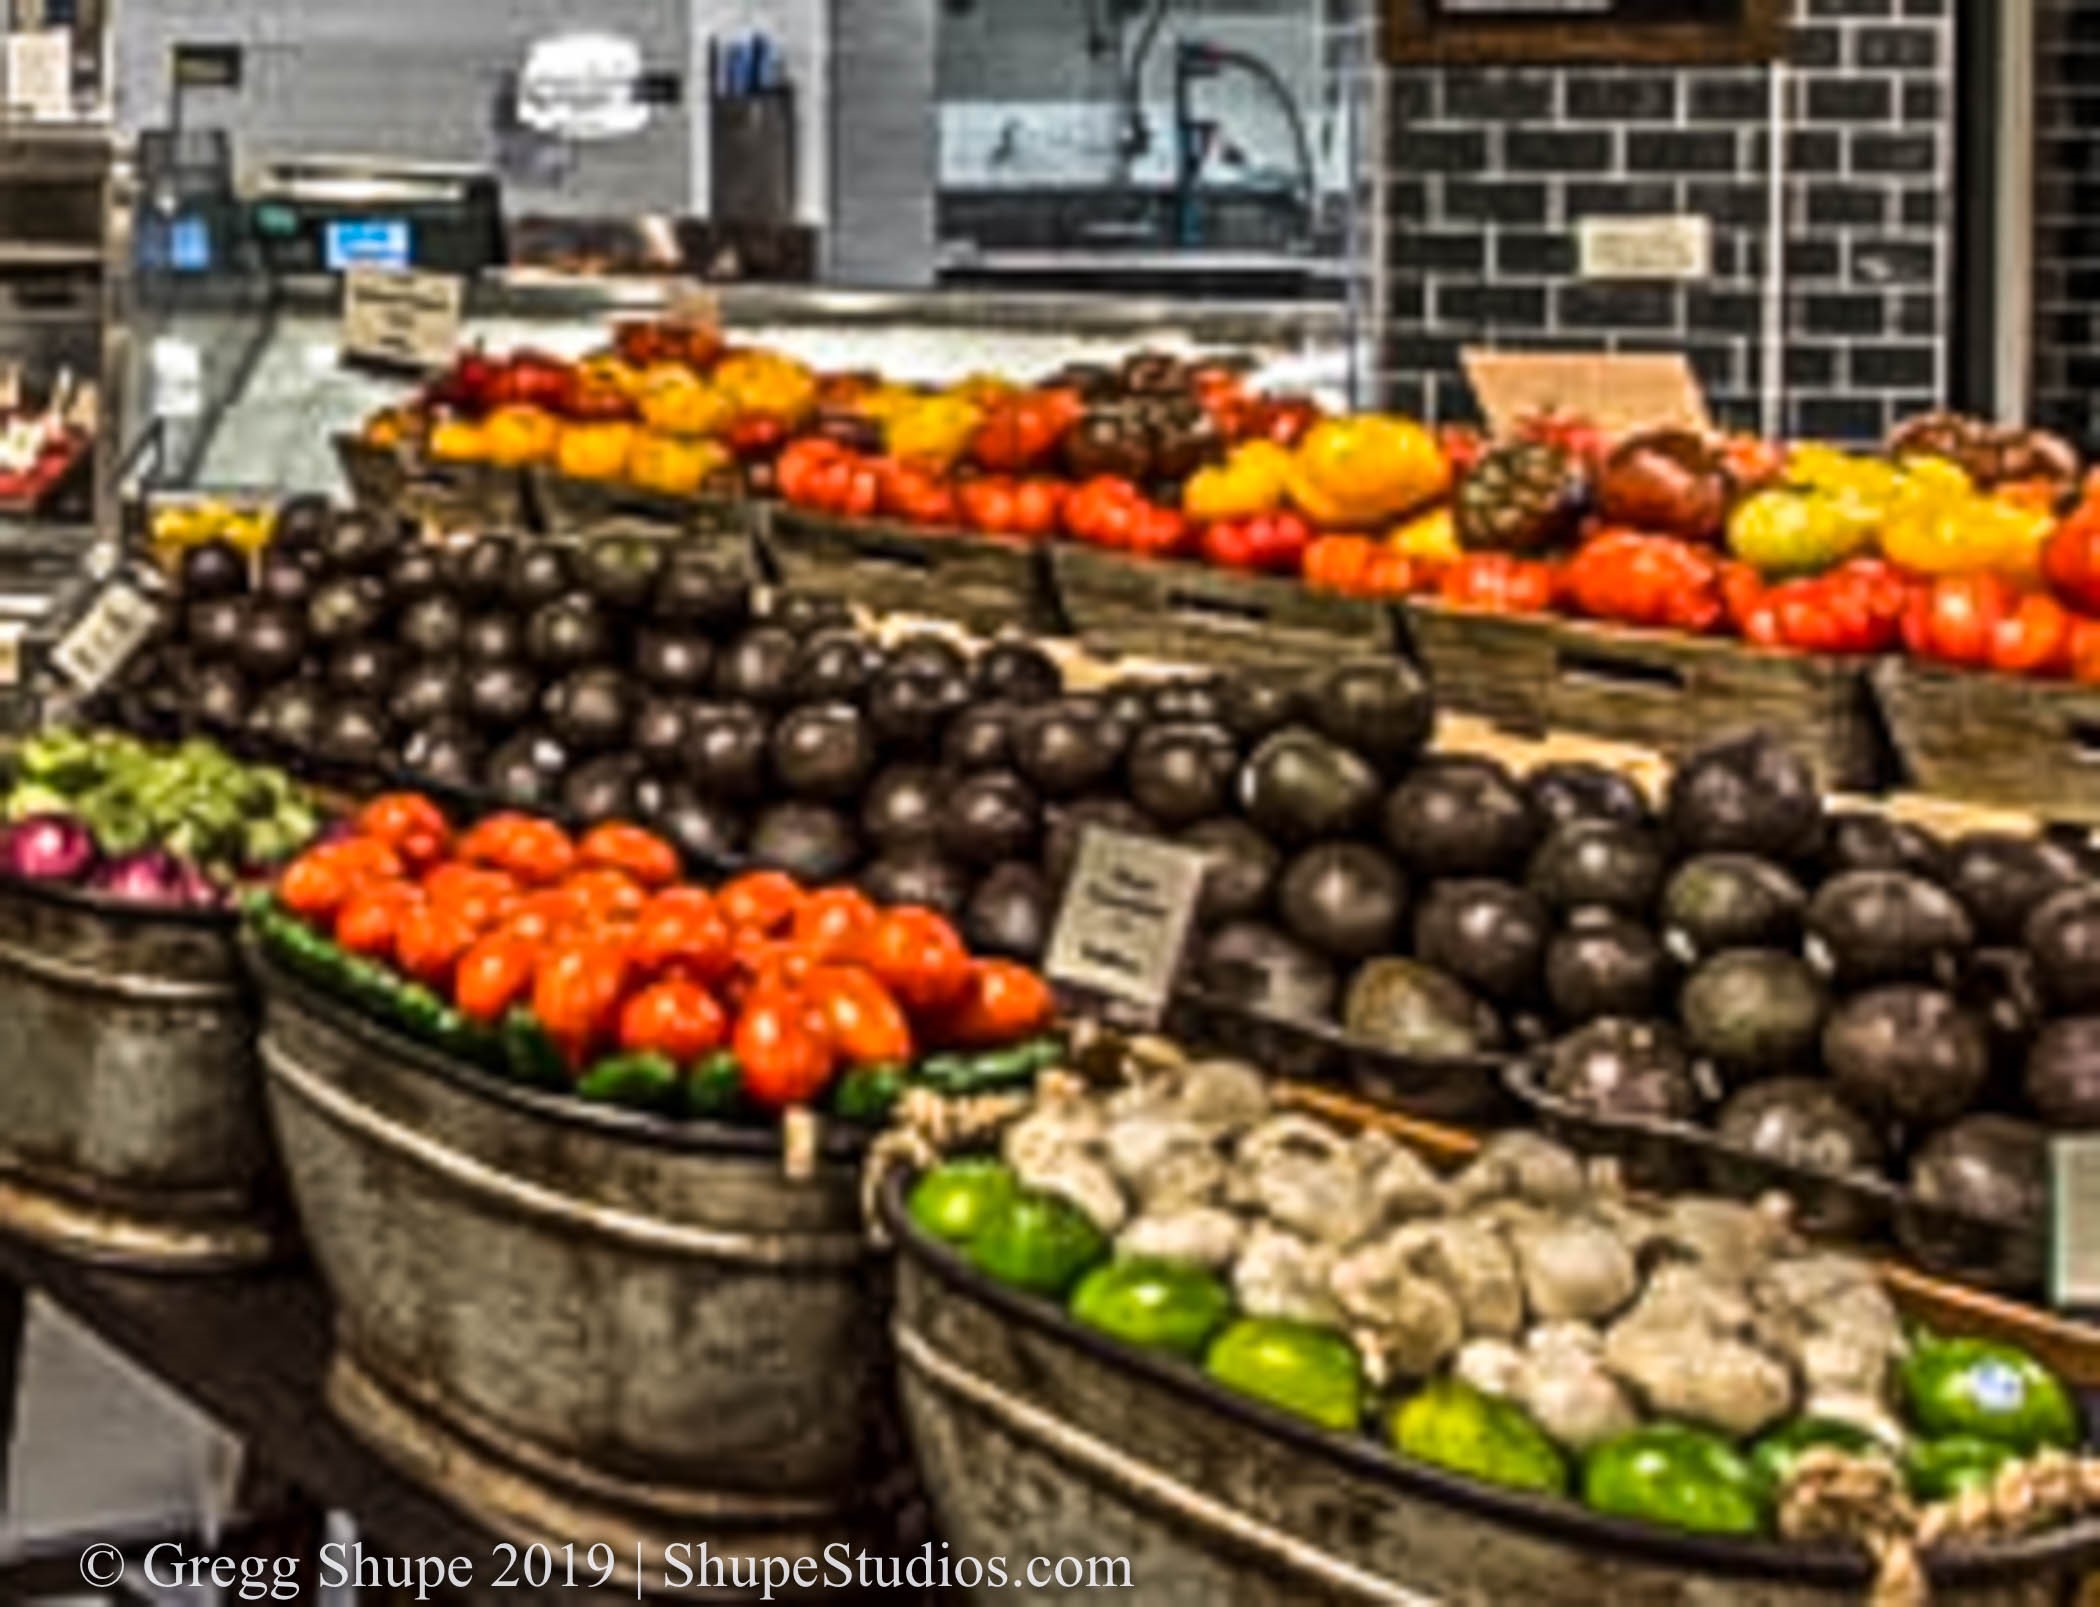
Here’s 10% of the same image in TIFF resolution. See how clear the text is in the sign for Plum Tomatoes?
Getting the Most Out of Your JPEG Files
Your smaller JPEG files will be the workhorse of your image files. Commonly used and accepted in documents, PowerPoint presentation and online, from here the only thing to know is what resolutions and dimensions are most often used online:
Square Images (1:1): Profile/logo images on most social media channels (Facebook, Twitter, LinkedIn, etc.). Instagram prefers uploaded photos to be square and will shorten them to those sizes in the gallery.
Landscapes (3:2): The most common resolution that works best for statuses and blog post the world over.
Hero Images (2:1 or 3:1): Banner images for social media sites (headers) are often longer and shorter. For example, Twitter recommends a photo of 1500 by 500 pixels and Facebook one of 820 by 312.
Here’s 15 percent of the same image in JPEG format. The loss of data means the image’s resolution is degraded, which causes fine details like the text to become unreadable.
Trying to think of other places to showcase your photography online? Check out my blog on the topic.
Consult with Your Photographer for Special Resolutions
If you’re looking to get images of a specific resolution or ratio for projects, websites, or social media channels, make sure to talk to your photographer ahead of the shoot. Professionals will have the tools and skills to get shots to perfectly meet your needs, but only if you tell them what you need.
Ready to get started with a professional architectural photographer who not only understands producing great photography but also how to use it? It’s time to contact ShupeStudios, operating in the greater Boston area.


